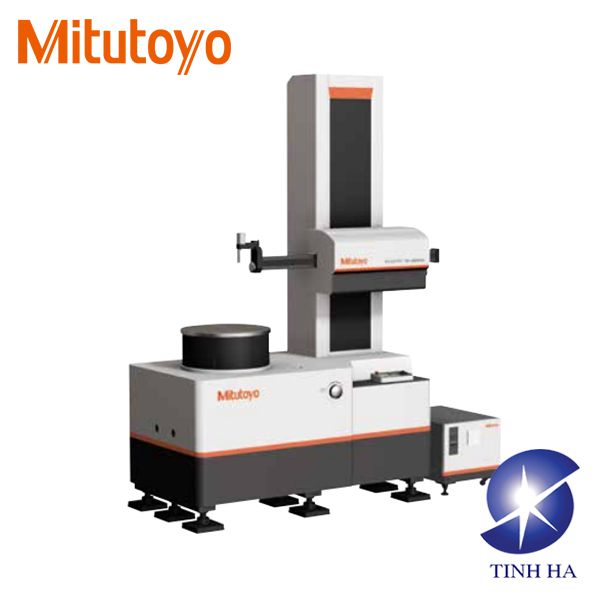
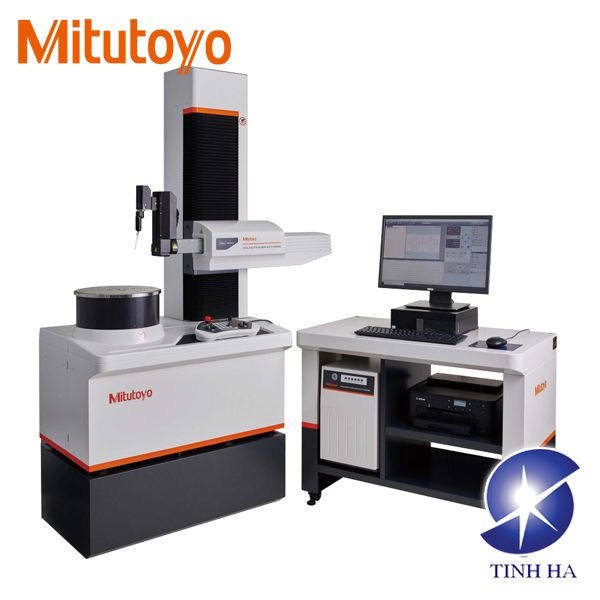
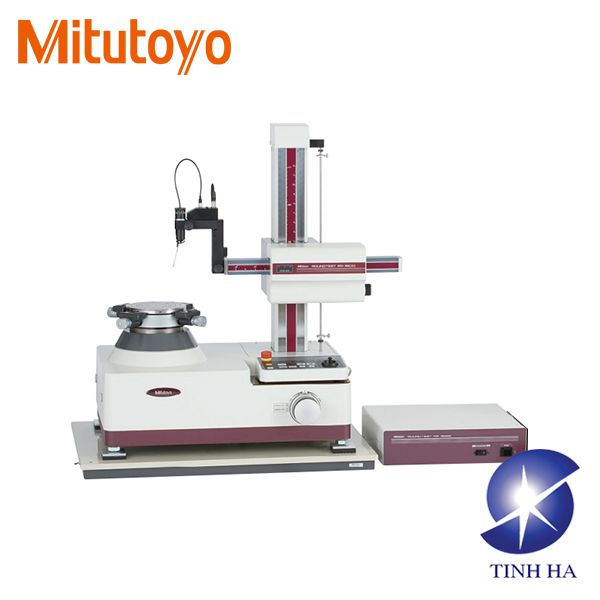
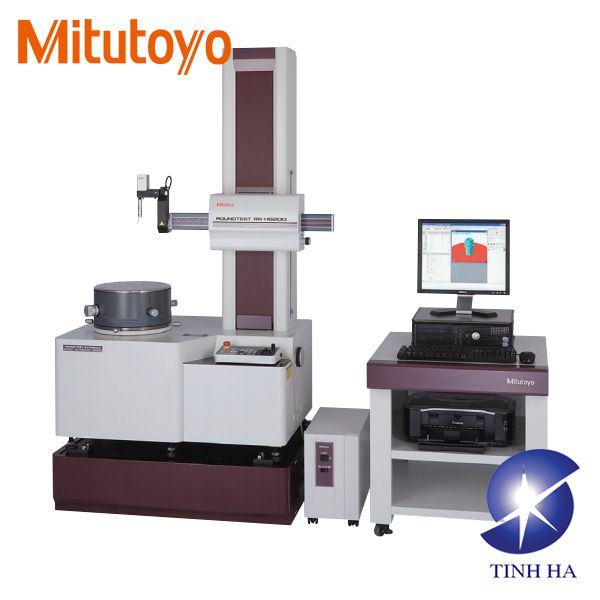
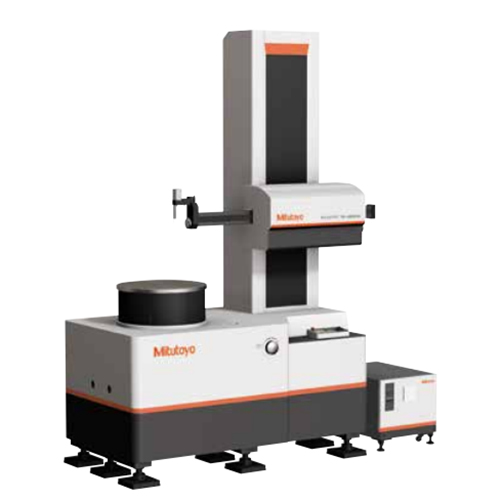
The best accuracy achieved in the class of large cylindricity measuring machine.
- Loading capacity is 350 kg, and the highest rotational accuracy in the class is achieved. Besides roundness and cylindricity, the flatness can be measured in high accuracy. The workpiece that requires high accuracy measurement such as large and heavy cylindrical parts can be measurement.
- For the ID measurement of a deep hole, such as a main shaft of machine tool, a deep hole measuring unit (specially made, without CNC functions) is available.
- A Mitutoyo linear scale is used in the X-axis drive unit to directly dtect the position of the drive unit. It guarantees the highly precise positioning vital for automatic measurement.
Specifications:
| Model No. | RA-6000 CNC | ||
| Turntable | Rotational accuracy (JIS B 7451-1997) | Radial direction | (0.05+6H/10000) µm H: Probing height (mm) |
| Axial direction | (0.05+6X/10000) µm X: Distance from the center of rotation (mm) | ||
| Maximum loading mass | 350 kg | ||
| Maximum probing diameter | ø880 mm | ||
| Vertical movement (Z-axis column unit) | Travel range | 1050 mm | |
| X axis | Travel range | 465 mm | |
| Detector | Detection range | Standard | ±400 µm/ ±40 µm/ ±4 µm |
| Tracking | ±5 mm | ||

