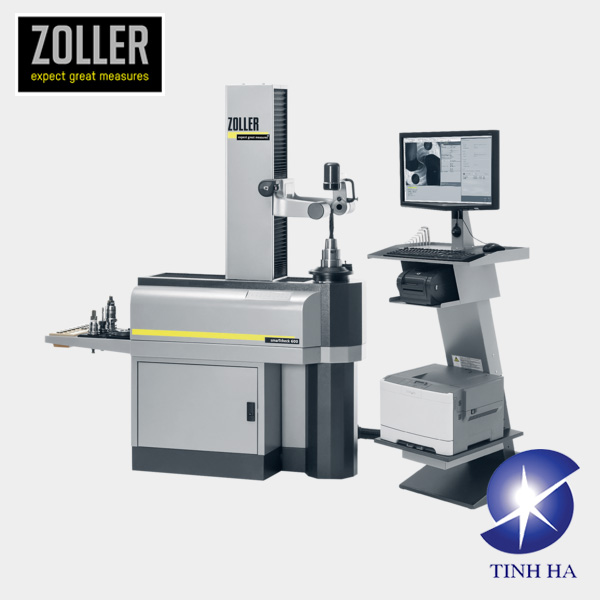
Whether as a manual or 3-axis-CNC version: »smartCheck« is the powerful universal measuring machine for all cutting tools As a result you can check your tools efficiently before and after grinding in order to fulfill DIN EN ISO 9000 guidelines.
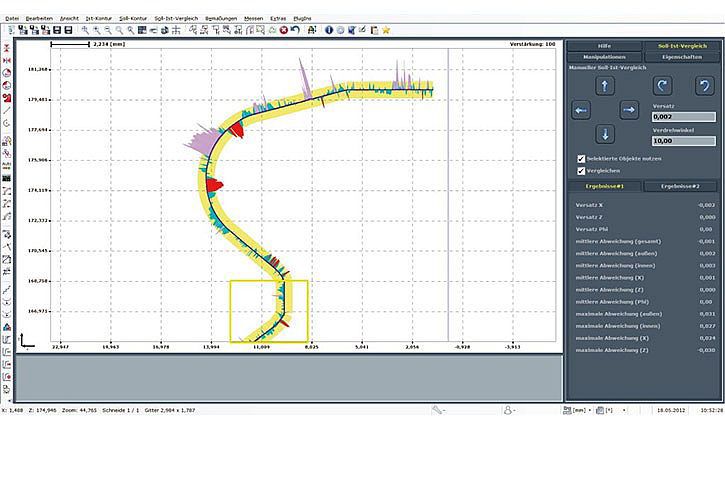
In addition, with the swiveling incident light image processing software, you can inspect, measure and document axial and radial geometries of tools — very easily in a single click without expert-level knowledge. You profit directly from at least a 25% productivity increase with your CNC grinding machines simply by measuring your tools before regrinding.
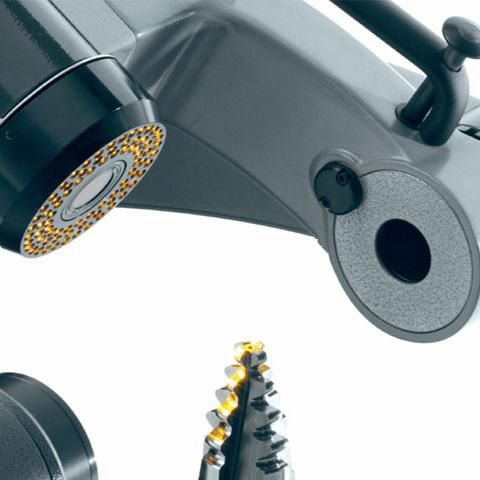
Highlights:
- Universal
Measure, inspect, record- Universal measuring machine for all cutting tools - Precise
Precisions camera swiveling with incident light image processing and segmented LED illumination for inspecting axial and radial geometries on tools - Extensive
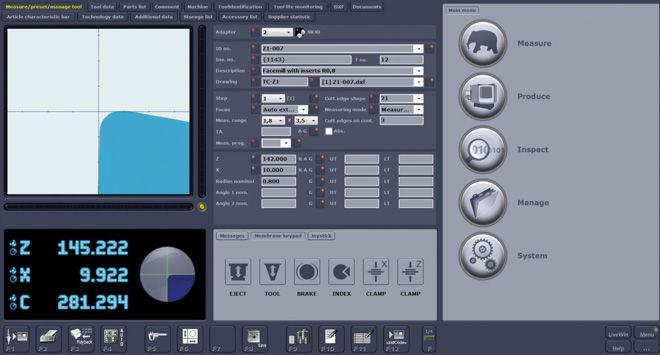
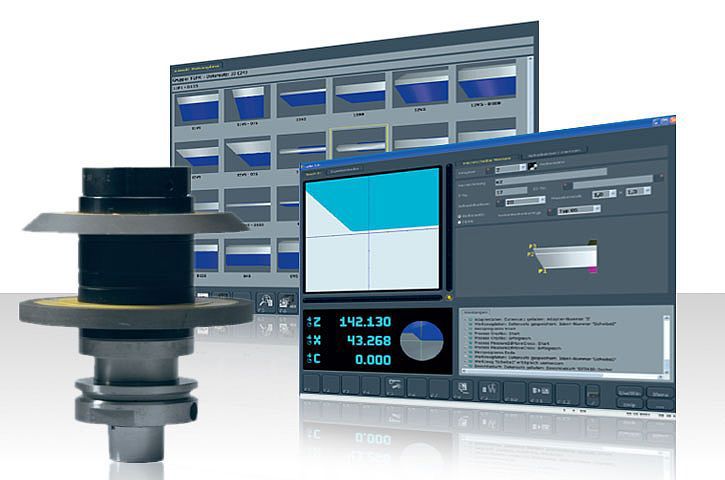
»pilot 3.0« image processing technology with extensive software functions and integrated measuring programs for inspecting and measuring tools - User-independent
Simple and repeatable inspection, measuring and documentation by mouse click - Perfect
Substantial documentation – automatic generation, saving and output of inspection reports
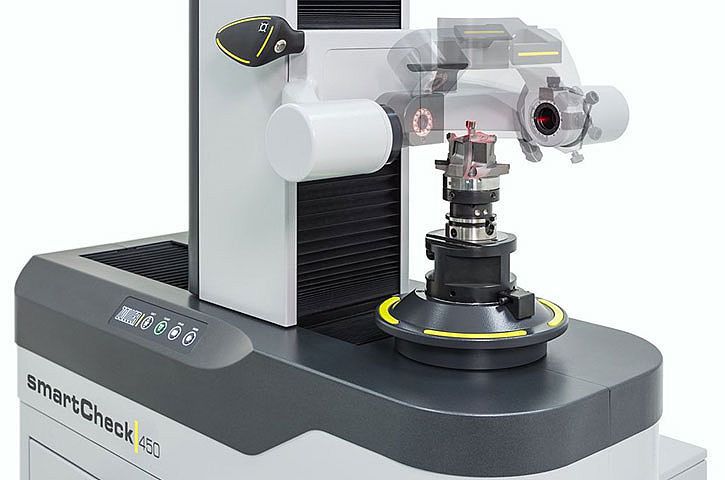
Technical Data:
| Measuring range Z | Measuring range X | Ø | Snap gage Ø | |
| »smartCheck 450« | 450 / 600 / 800 mm | 175 mm | 350 mm | 35 mm |
| »smartCheck 600« | 600 / 800 / 1000 mm | 175 mm | 370 mm | 80 mm |
| »smartCheck 800« | 600 / 800 / 1000 / 1200 mm | 500 mm | 900 mm | 300 mm |
VIDEO:
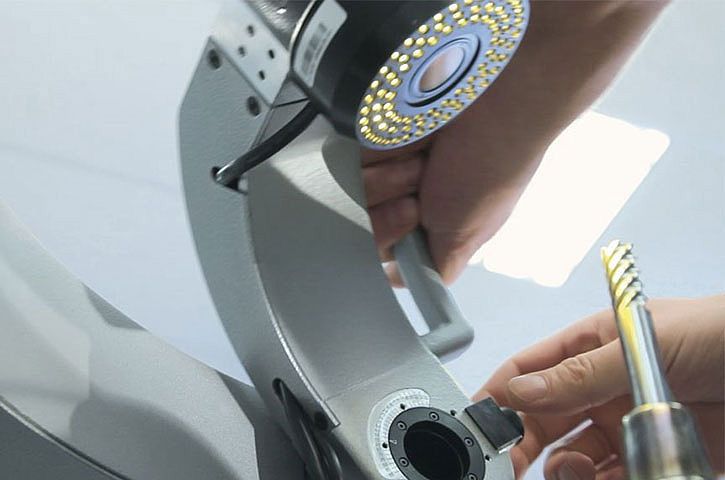

Software:
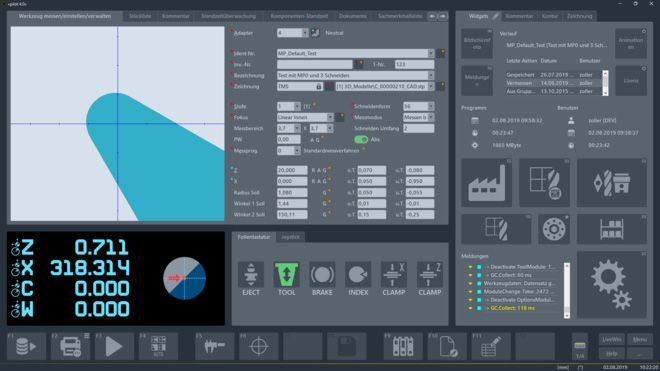
»pilot 4.0«
»pilot 3.0«
