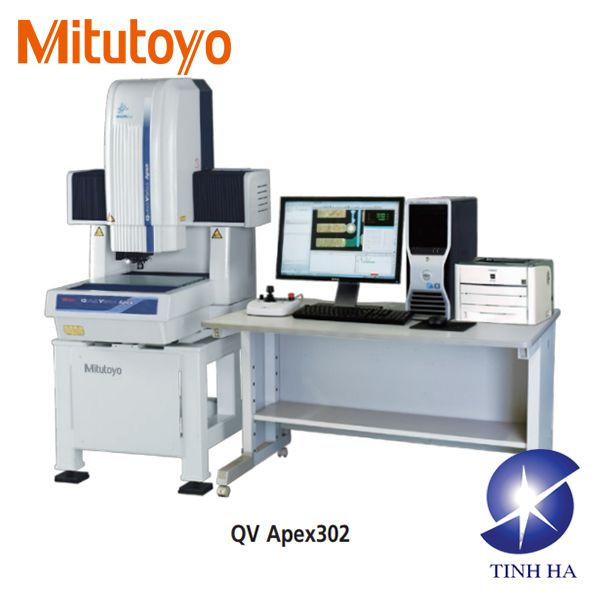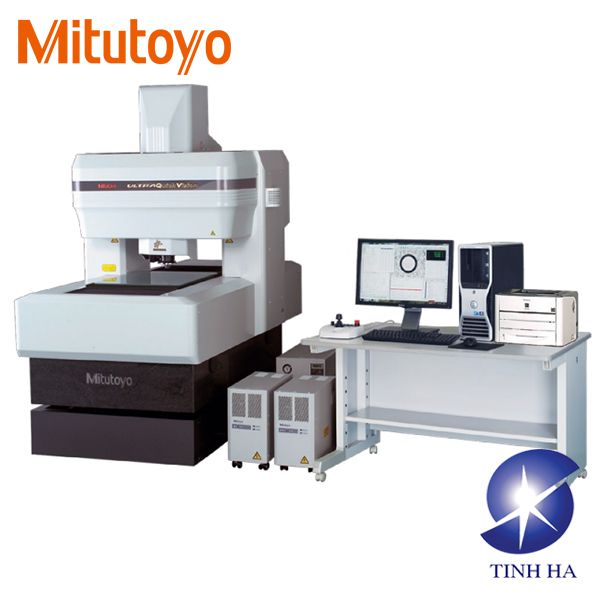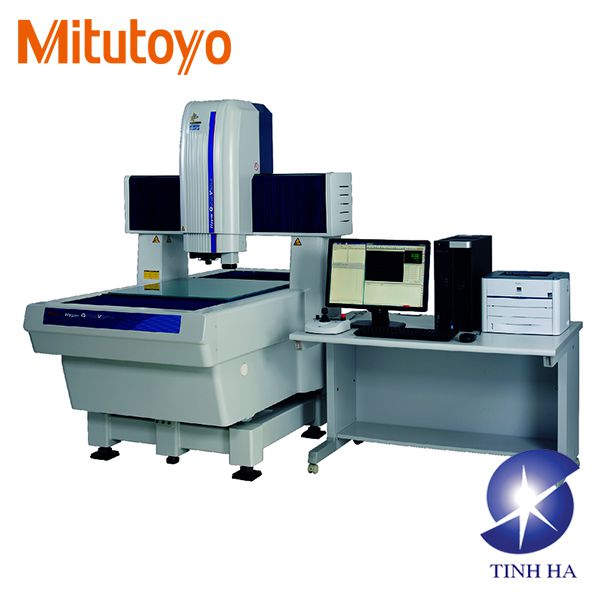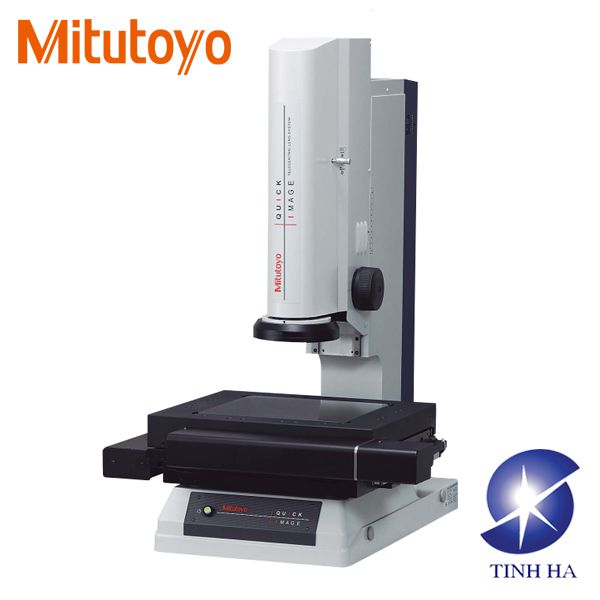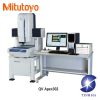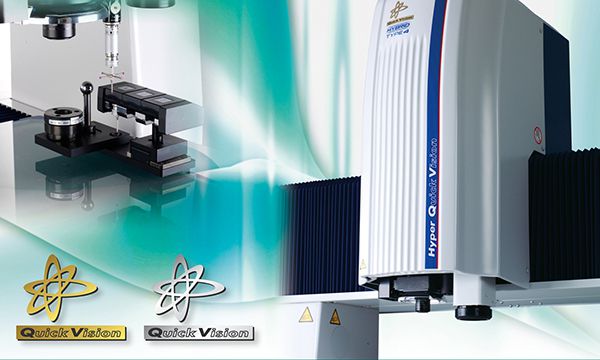
A high-productivity CNC Vision Measuring System that can precisely and effectively perform a series of tasks from dimensional calculation to form analysis.
- The part program editing, such as changeover of the workpiece or correcting errors, is easy and straightforward.
- High specifications such as contour measurement or non-contact measurement are covered.
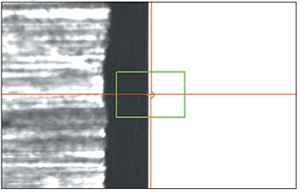
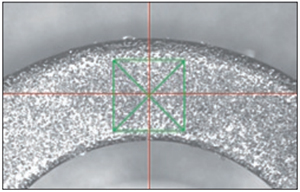
- TAF (Tracking Auto Focus) automatically follows changes in the height of the object being measured. TAF eliminates the time that otherwise would be wasted in re-establishing focus multiple times, resulting in shorter measurement time.
- Tracking Auto Focus (TAF): The TAF feature focuses continuously, adjusting to changes in the height of the object being measured. Automatic tracking of surface waviness and warpage (in the Z-axis height direction) improves measurement throughput. The feature also cuts out the hassle of focusing during manual measurement, reducing the work burden for measuring system operators.
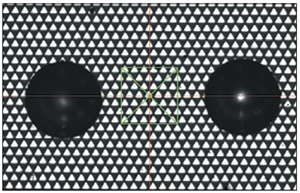
- Hight-Performance Multi-Auto Focus: The QV Series is equipped with a high-performance image auto focus function as standard. Image auto focus is used to guarantee accuracy. Thanks to the availability of various auto focus tools, the optimal focus each surface texture and measured feature can be selected, which makes it possible to perform highly reliable height measurements.
 |
 |
 |
Specifications:
QV Apex
| Model No. | QV Apex 302 | QV Apex 404 | QV Apex 606 | |
| Measuring range (XxYxZ) | 300x200x200 mm | 400x400x250 mm | 600x650x250 mm | |
| Observation unit | PT1X-2X-6X | |||
| Imaging device | B&W CCD (1/2 inch) or 3CCD color (1/3 inch) | |||
| Accuracy | E1X, E1Y | (1.5+3L/1000) µm | ||
| E1Z | (1.5+4L/1000) µm | |||
| E2XY | (2+4L/1000) µm | |||
Hyper QV
| Model No. | Hyper QV 302 | Hyper QV 404 | Hyper QV 606 | |
| Imaging device | B&W CCD (1/2 inch) | |||
| Accuracy | E1X, E1Y | (0.8+2L/1000) µm | ||
| E1Z | (1.5+2L/1000) µm | |||
| E2XY | (1.4+3L/1000) µm | |||

