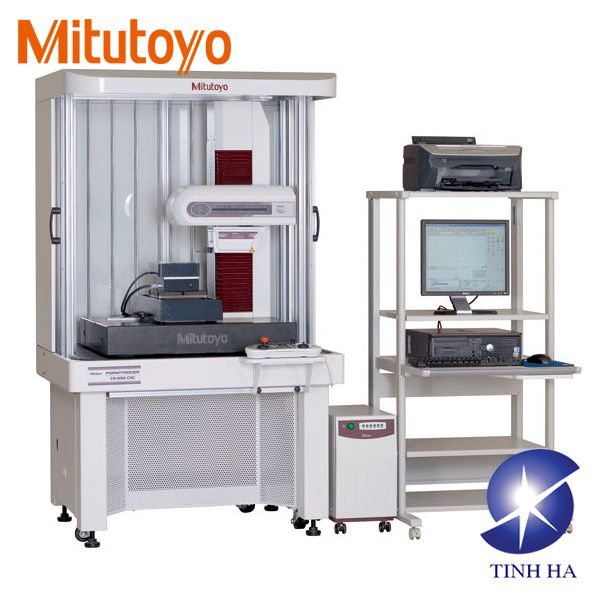
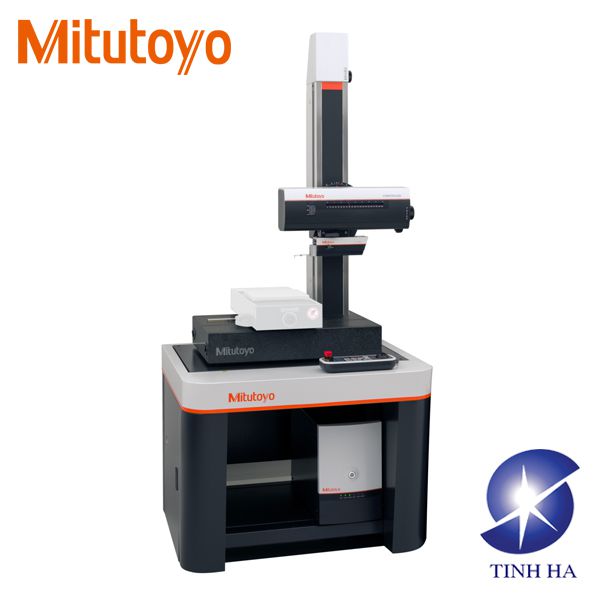
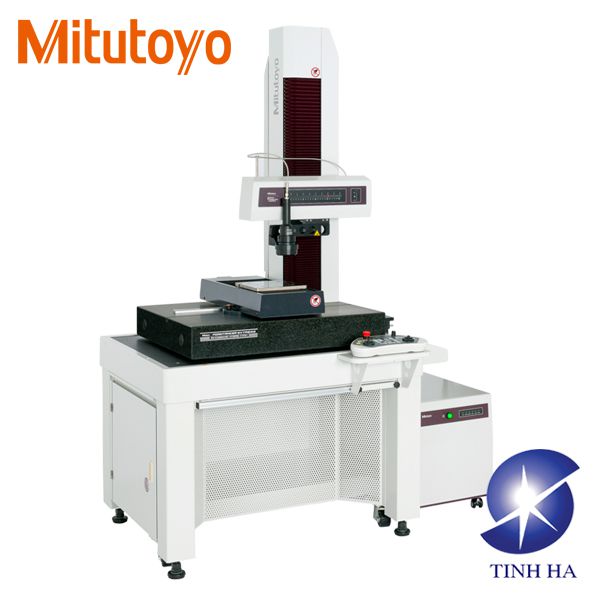
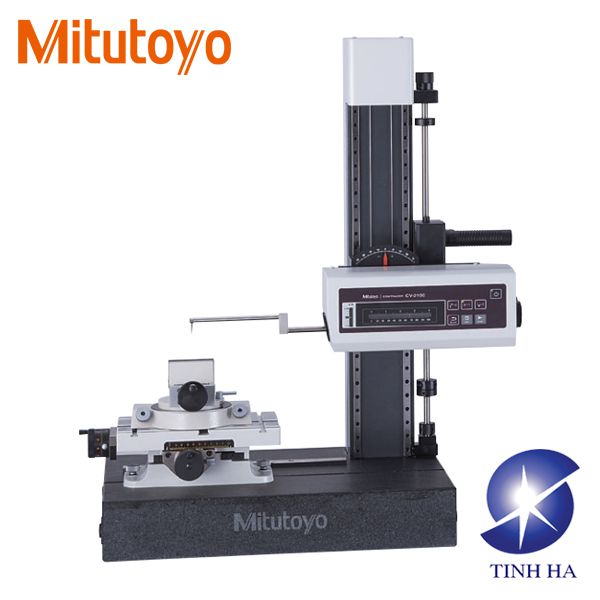
- High-accuracy stylus type CNC Surface Measuring System that allows batch measurement of surface roughness and form/contour.
- The X1 and Z2 axes have maximum drive speeds of 40 mm/s and 200 mm/s, respectively. This permits high-speed positioning that can potentially result in a large increase in the throughput of multiple-profile/multiple-workpiece measurement tasks.
- A Mitutoyo Laser Holoscale is incorporated in the X1 and Z1 axes so that high resolution is achieved ad batch measurement of form/contour and surface roughness can be made.
- The active control method is employed for the Z1-axis detector to implement a wide-range measurement capability wherein the variation in dynamic measuring force is restricted.
- Since the Z1-axis detector incorporates an anti-collision safety device, the detector unit will automatically stop if it touches a workpiece or fixture.
- For models with the α axis, it is possible to perform continuous measurement over horizontal and inclined surfaces by power-tilting the X1 axis. (CS-5000CNC only)
- For models with the Y-axis table, it is possible to expand the measuring range for multiple workpieces through positioning in the Y-axis direction.
- Optional external control function (Ext I/O) through bidirectional communication (RS-232C) with the PLC (programmable logic controller) is available.
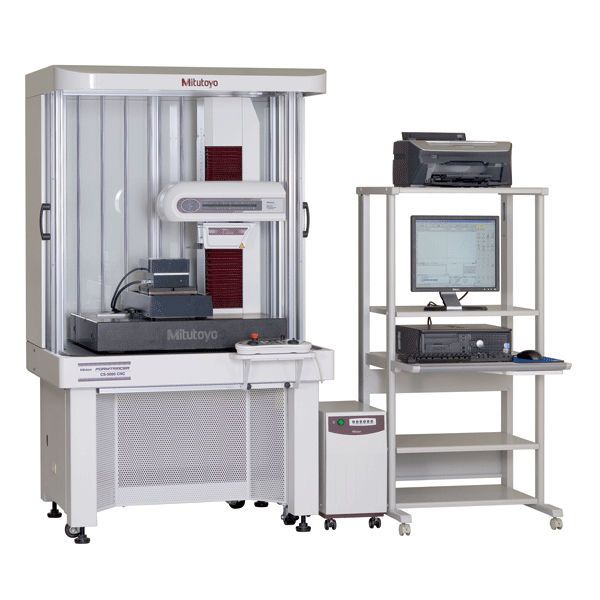
Specifications:
| Model No. | CS-5000CNC | CS-H5000CNC | ||
| X1 axis | Measuring | 200 mm | ||
| Resolution | 0.005 µm | |||
| Scale type | Transmission-type linear encoder | |||
| Drive speed | CNC mode | Max. 40 mm/s | ||
| Joystick mode | 0 to 40 mm/s | |||
| Measuring speed | 0.02, 0.05, 0.1, 0.2 mm/s (surface roughness), 0.02, 0.05, 0.1, 0.2, 0.5, 1.0, 2.0 mm/s (form/contour) | |||
| Measuring direction | Forward/backward | |||
| Straightness | (with standard stylus) | (0.1+0.0015L) µm L: traverse length (mm) | (0.05+0.0003L) µm L: traverse length (mm) | |
| (with 2X-long stylus) | (0.2+0.0015L) µm L: traverse length (mm) | (0.1+0.0015L) µm L: traverse length (mm) | ||
| Accuracy (20 oC) | ±(0.3+0.002L) µm L: traverse length (mm) | ±(0.16+0.001L) µm L: traverse length (mm) | ||
| α axis | Inclination range | -45o (CCW), +10o (CW) | — | |
| Z1 axis (Detector) | Measuring range | (with standard stylus) | 12 mm | |
| (with 2X-long stylus) | 24 mm | |||
| Resolution | (with standard stylus) | 0.0008 µm | ||
| (with 2X-long stylus) | 0.0016 µm | |||
| Vertical movement of the stylus | Arc motion | |||
| Scale type | Transmission-type linear encoder | |||
| Accuracy (20 oC) | ±(0.3+|0.02H|) µm H: probing height (mm) | ±(0.07+|0.02H|) µm H: probing height (mm) | ||
| Measuring force | (with standard stylus) | 4 mN (Fixed) | ||
| (with 2X-long stylus) | 0.75 mN (Fixed) | |||
| Traceable angle | Ascent: 60o, Descent: 60o, (Depends on the surface texture) | |||
| Stylus tip shape | Standard stylus | Tip angle: 40o, Tip radius: 5 µm, Diamond tip | ||
| Standard ball stylus | Tip ball radius: 0.25 mm, Sapphire | |||
| 2X-long stylus | Tip angle: 40o, Tip radius: 5 µm, Diamond tip | |||
| 2X-long stylus | — | Tip angle: 60o, Tip radius: 2 µm, Diamond tip | ||
| 2X-long ball stylus | Tip ball radius: 0.25 mm, Sapphire | |||
| Face of stylus | Download | |||
| Z2 axis (Column) | Travel range | Z2 axis (column, type S) | 300 mm | |
| Z2 axis (column, type H) | 500 mm | — | ||
| Resolution | 0.05 µm | |||
| Scale type | Reflective-type linear encoder | |||
| Drive speed | CNC mode | Max. 200 mm/s | ||
| Joystick mode | 0 to 50 mm/s | |||
| Base size (widthxdepth) | 750×600 mm | |||
| Base material | Gabbro | |||

