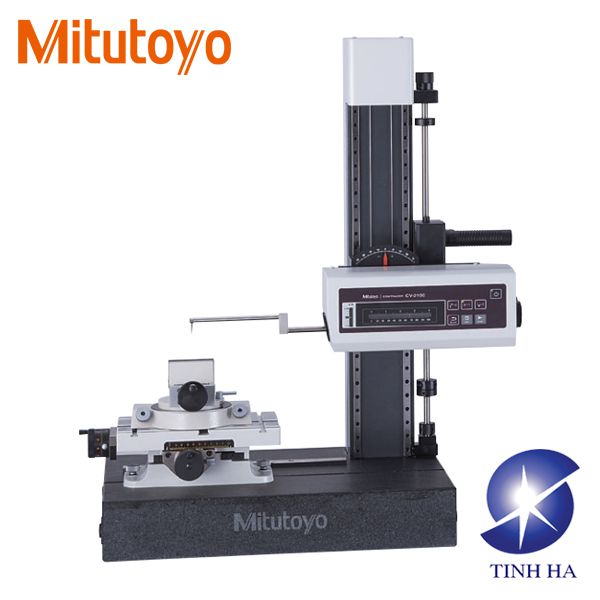
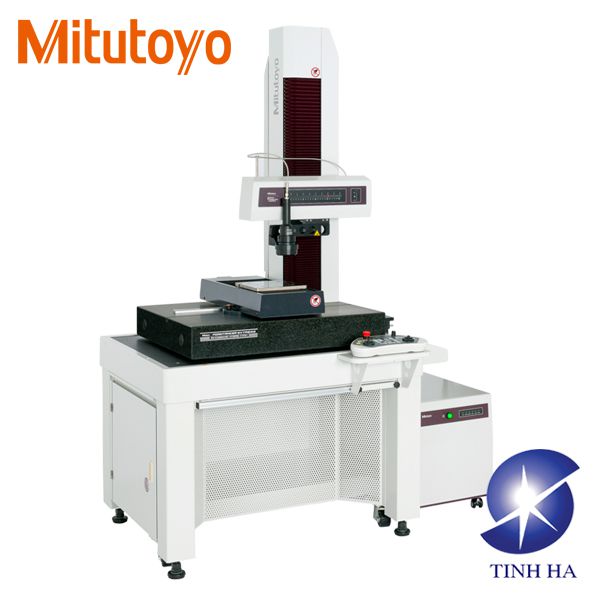
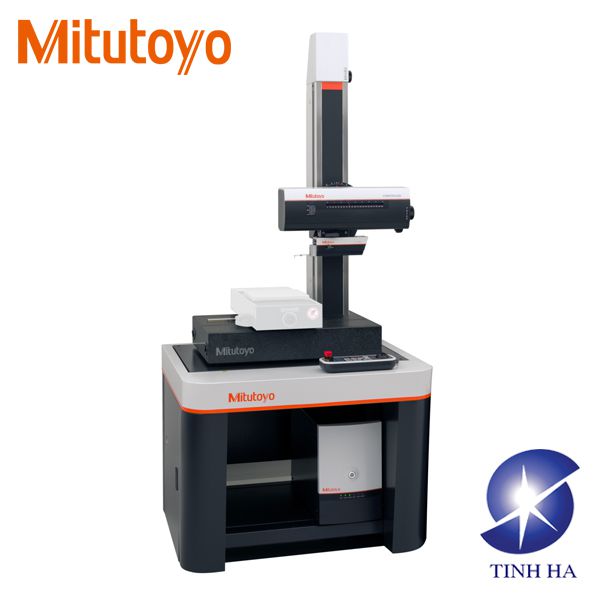
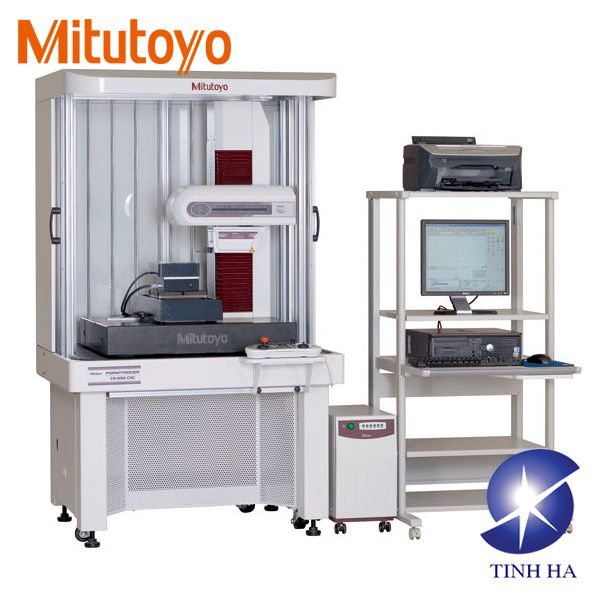
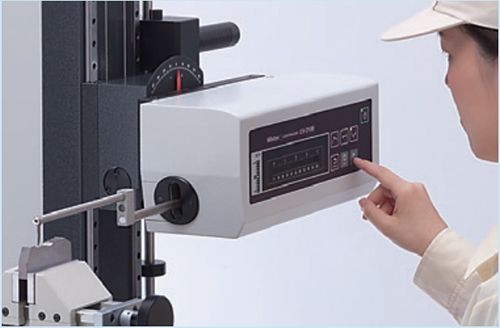
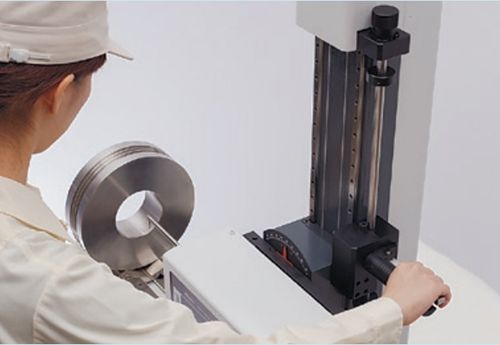
- The operation flow is significantly shortened by arranging the controls for stylus position change, measurement start/stop and return on the front of the drive unit.
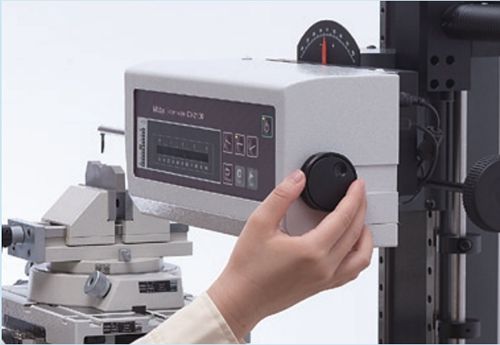
- Fine and coarse X-axis positioning can be performed easily by using the jog shuttle that covers the whole measuring range.
- The quick-vertical -motion stand allows operators to swiftly and easily move the drive unit to and from the measurement height without having to push or pull (only for CV-2100M4).
- The detector unit (Z1 axis) is equipped with a highly accurate arc scale. This scale directly tracks the arc locus of the stylus tip so that the most accurate compensation can be applied to the scale output, which leads to higher accuracy and resolution. Operators are free from bothersome operations such as measurement magnification swiching and calibrating each magnification as required for analog instruments.
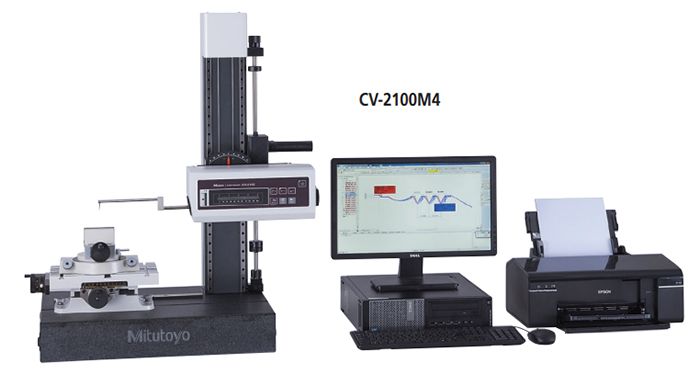
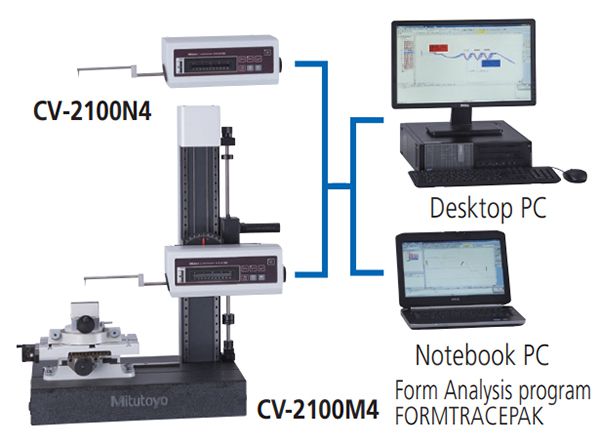
Specifications:
| Model No. | CV-2100M4 | CV-2100N4 | |
| Measuring range | X axis | 100 mm | |
| Z1 axis (detector unit) | 50 mm | ||
| Z2-axis (column) travel range | 350 mm | — | |
| X-axis inclination angle | ±45o | ||
| Resolution | X axis | 0.1 µm | |
| Z1 axis | 0.1 µm | ||
| Drive method | X axis | Motor (0-20 mm/s) | |
| Vertical travel (Z-axis column) | Manual (Quick-vertical-motion, fine) | — | |
| Measuring speed | 0.02, 0.05, 0.1, 0.2, 0.5, 1.0, 2.0, 5.0 mm/s | ||
| Straightness (when the X axis is horizontal) | 2.5 µm/100 mm | ||
| Accuracy (20 oC) | X axis | ±(2.5+0.02L) µm L= Measurement Length (mm) | |
| Z1 axis | ±(2.5+|0.1|) µm H= Measurement height from horizontal position within ±25 mm | ||
| Measuring direction | Both pulling and pushing directions | ||
| Measuring face direction | Downward direction | ||
| Measuring force | 30±10 mN (3 gf) | ||
| Traceable angle (using the standard stylus) | Ascent 77o, Descent 87o (according to surface property) | ||
| External dimensions (WxDxH) | 745 x 450 x 885 mm | 651 x 143 x 138.5 mm | |
| Mass | 145.8 kg | 5.8 kg | |
 |
 |
 |

